


Adding documents: pdfs, Word, zip etc.
Top tips on uploading documents online
Before you upload a document to T4, please read our top tips on Uploading documents online.
If you want to add a download link to a document on a T4 web page, then you need to add your file to the Media Library. The Media Library is where both documents and images are stored.
The guidance on this page covers how to upload a new document. If you are looking to update an existing document then please see the guidance on Editing and removing existing documents.
If you already have a document uploaded and want to add a link to it in your content, see our guidance on Adding a link to a document in your content.
Before you start
1. Make sure your document is a valid file type.
| Name | File extension(s) |
|---|---|
| Portable Document Format (PDF) | |
| Microsoft Word | .doc, .docx |
| Microsoft Excel | .xls, .xlsx |
| Microsoft PowerPoint | .ppt, .pptx |
| Zip (compressed) file | .zip |
These are the main file types, if you are looking to upload another type of file, please check with your Faculty Web Officer first.
2. Make sure the filename of the document you are uploading is 'URL friendly', this is because the filename becomes part of the web address. So you should:
- Make it as short as possible
- Separate words with a hyphen (-) rather than spaces
- Remove any special characters including < > ; ‘ “ ~ ` ,$ £ # @ ^ * () —
Bad example of a filename - Training department's contacts version 1.44* (Bob's final version).pdf
Good example of a filename - training-department-contact-list.pdf
3. Ensure your document has a 'Title' in the document metadata. This is important for accessibility as the document title is the first thing a screen reader will read out to the user.
- Add a document title to your documents (Microsoft Word, Excel and PowerPoint)
- How to add a document title to a PDF file in Adobe Acrobat (W3.org guide)
Instructions
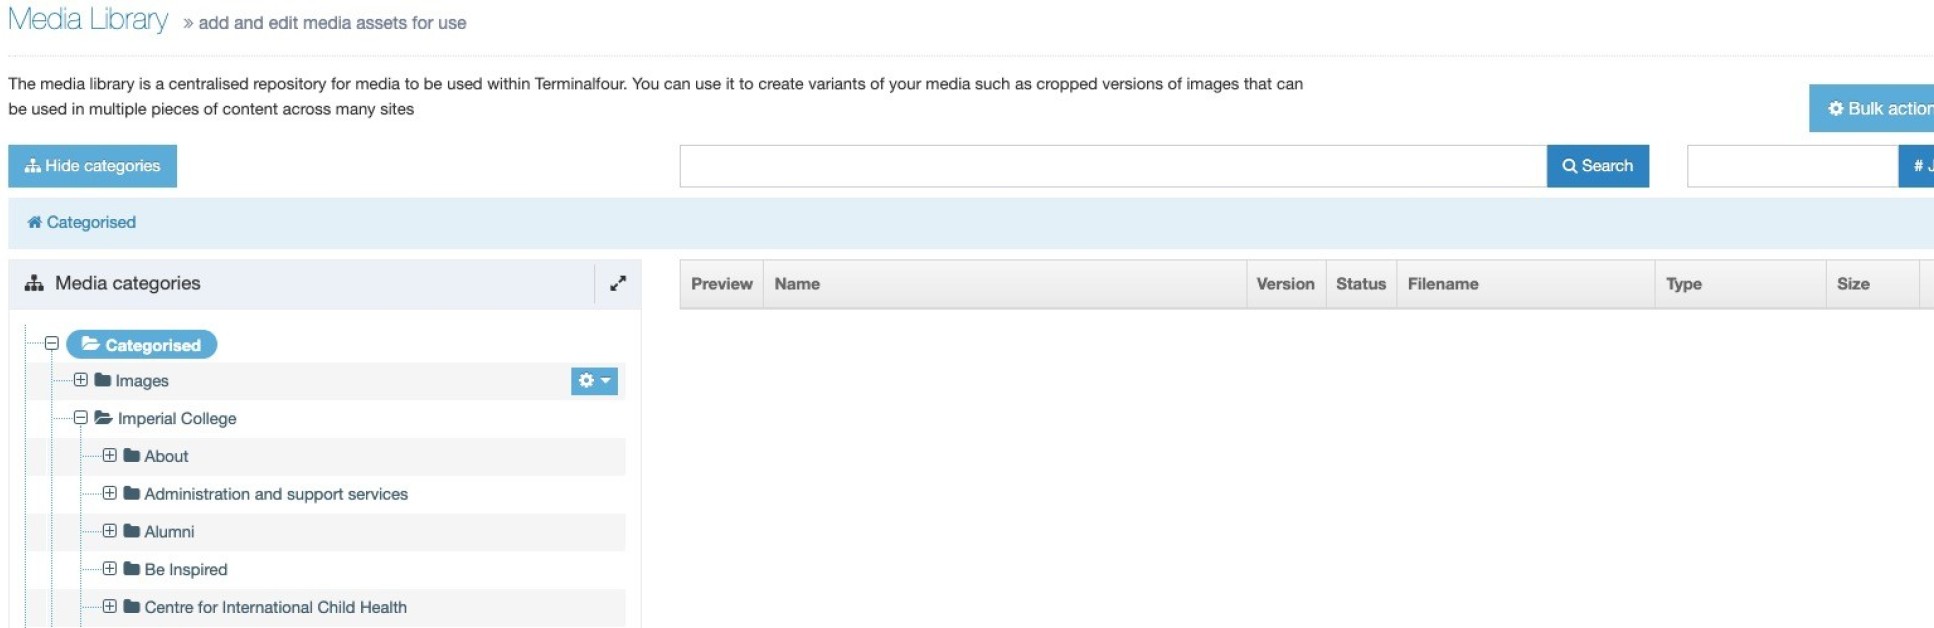
1. Click on Content in the left hand menu and then select Media Library.
This will open the Media Library. If this is is the first time you have used the Media Library that day, then the categories (folders) will be in a collapsed view (like below). If you have recently used it, then T4 will remember which folder you were in previously, so that will be open.
 2. Click on the + symbol next to Categorised, to expand that category (folder).
You will see two main categories (folders) -
- Images - Where the website images are stored. Find out more about images.
- Imperial College - This is where all existing documents are stored and where any new documents should be upoaded.
3. Click on the + symbol next to Imperial College, to expand that category (folder).
 You will see a series of sub-categories (folders) for the different sections of the website.
Note: You will be able to see all of the categories for the website, but you will only be able to add documents to categories (folders) you have been given access to.
4. Navigate to where your team stores their documents. In my example I am uploading a PDF document To the folder in Web Training > Admin > Public category. Please check with your main website editor or Faculty Web Officer if you are unsure.
You will see a list of the existing files in that folder on the right side of the screen (like my example below).
Tip: It is always worth checking if there is an existing file with the same name as the one you are uploading.
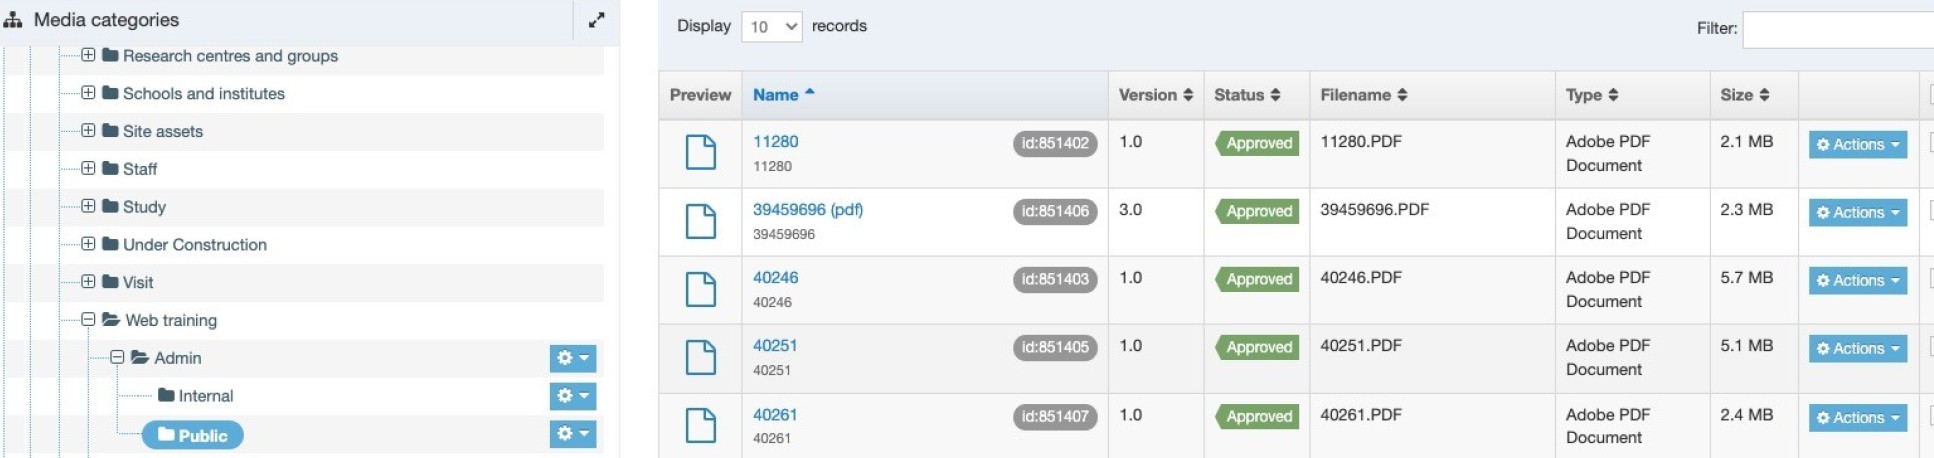
Note: A document that is put in a Public folder is open for all to see. If you select the Internal folder your document will be log in only. If you cannot see your internal folder, please contact your Faculty Web Officer who can set one up. Please do not try and add an internal folder yourself as it will not work correctly.
5. Click on the green Add media button.

Note: If you cannot see this button or you get the error message below. then you do not have permissions. Please contact your Faculty Web Officer who will be able to check your access levels.
6. Complete the form as below:
| Field title | What should I do? | Is it compulsory? |
| Media file* | Click on the cloud icon to select the file from your computer. | Yes |
| Name* | Enter a name for your document, including the file type (PDF, WORD, PPT etc,). In this case: Benefits of the CMS (PDF) - this name will automatically appear as the link text when you add the link to the text editor, so it is important the name is descriptive. unless changed later. | Yes |
| Description /Alt text | You can add a short description of the document. For uploading images, this field must be completed as it will act as the Alt text for the image. | No |
| Media type | This is automatically generated | Yes |
| Syntax highlighting language | Ignore this option | No |
| Keywords |
Enter relevant keywords. These are used to search the Media Library, so it may help you to include some words that might help you or your colleagues find this document. This could include the topic or other keywords about the content of the document. All keywords should be separated by a comma (,). |
No |
7. Click Save changes
You will then see confirmation your document has been added and you will be returned to the folder view. It is now ready to be linked to from your content.
Next steps: Adding a link to a document in your content