Lightbox overview
You can create a personalised collection of your favourite images using the Lightbox feature.
The lightbox folder acts like a shopping basket - you can add files to it from a variety of areas within Assert Library - but be aware that you are only adding 'shortcuts' to these assets, rather than duplicating or moving assets directly.
Adding an asset to your lightbox
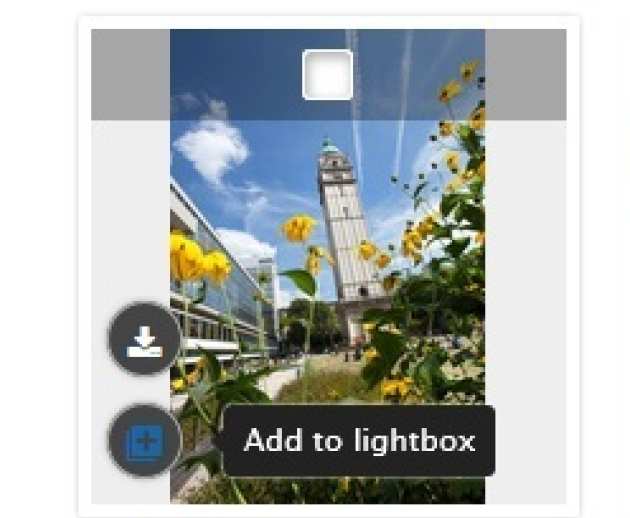
To add an asset to your lightbox hover your cursor over the asset and click on the plus sign:
Navigating your lightbox
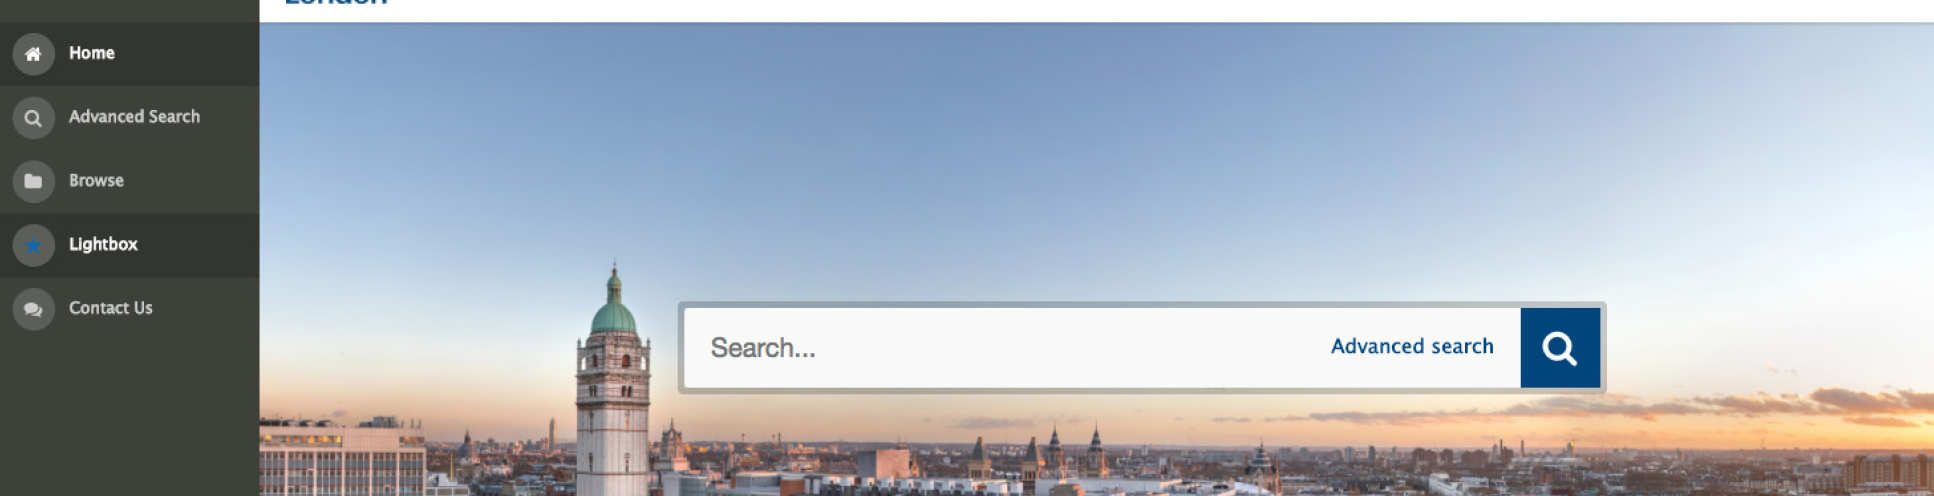
To navigate to your lightbox click on Lightbox in the left hand navigation:
Your current lightbox will appear in the first tab and it will tell you how many assets it contains:
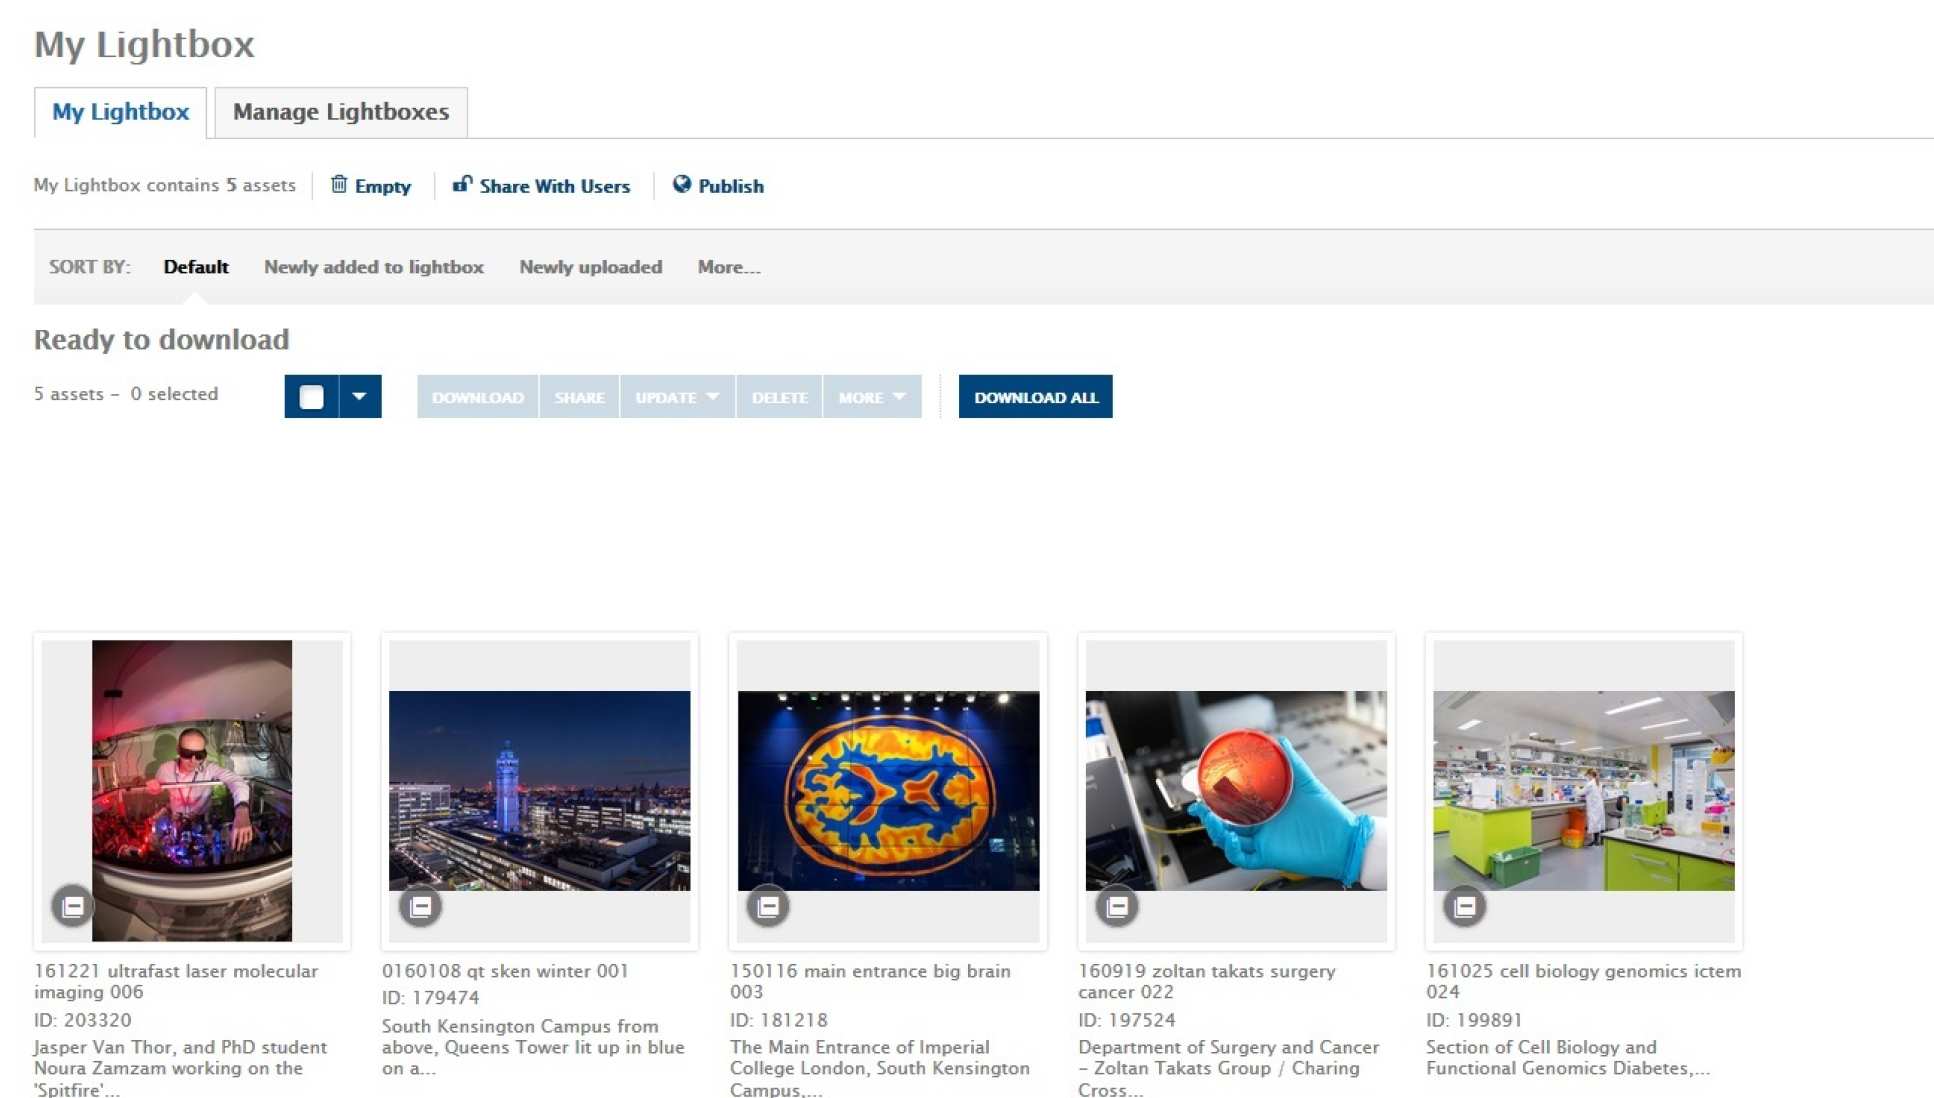
To delete assets from your light box click on Empty.
Share a lightbox with other users
Sharing a lightbox allows other registered Asset Library users access to your lightbox to view and optionally edit it.
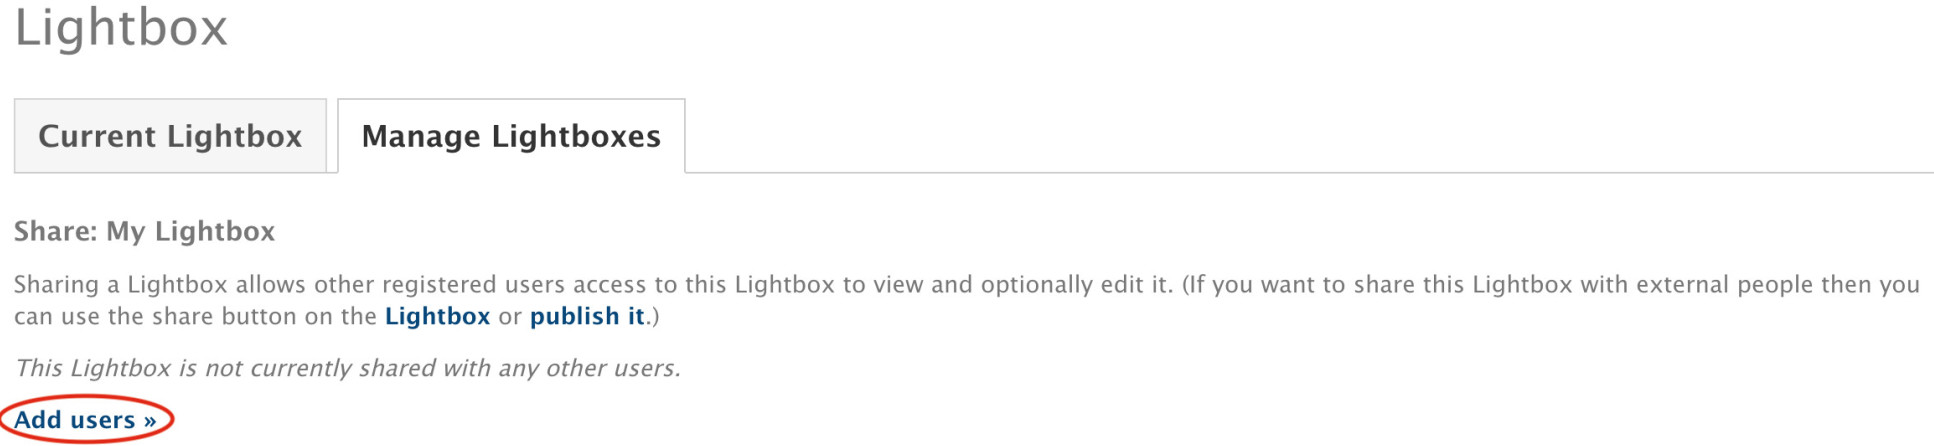
You can share a lightbox with particular users by clicking on the 'share with users' link in either the Current Lightbox or Manage Lightboxes tab. The 'Add users' link will allow you to search through the user list of the Asset Library to find the people you want to give access to:

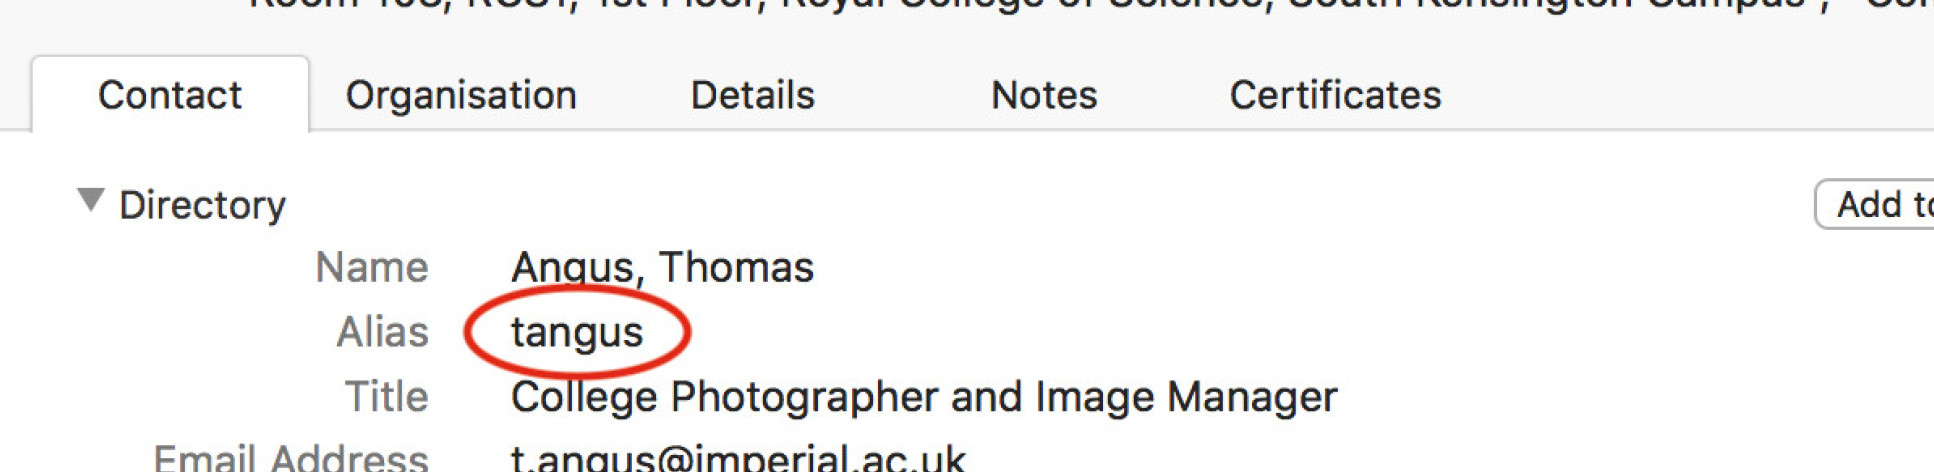
Please note that as not all user accounts have an email attached to them, in order to share a lightbox with a user, you will need to know that user's College username. You can find this via their profile on Microsoft Outlook, by looking at the 'alias':
Once you've selected your user(s) you can choose to send them a notification email, and also give them permission to edit the lightbox.
The final page will display the list of users that currently have permission to view or edit the lightbox through sharing. You can further add/remove users from this page, as well as change whether they are able to edit the lightbox:

Managing your lightbox
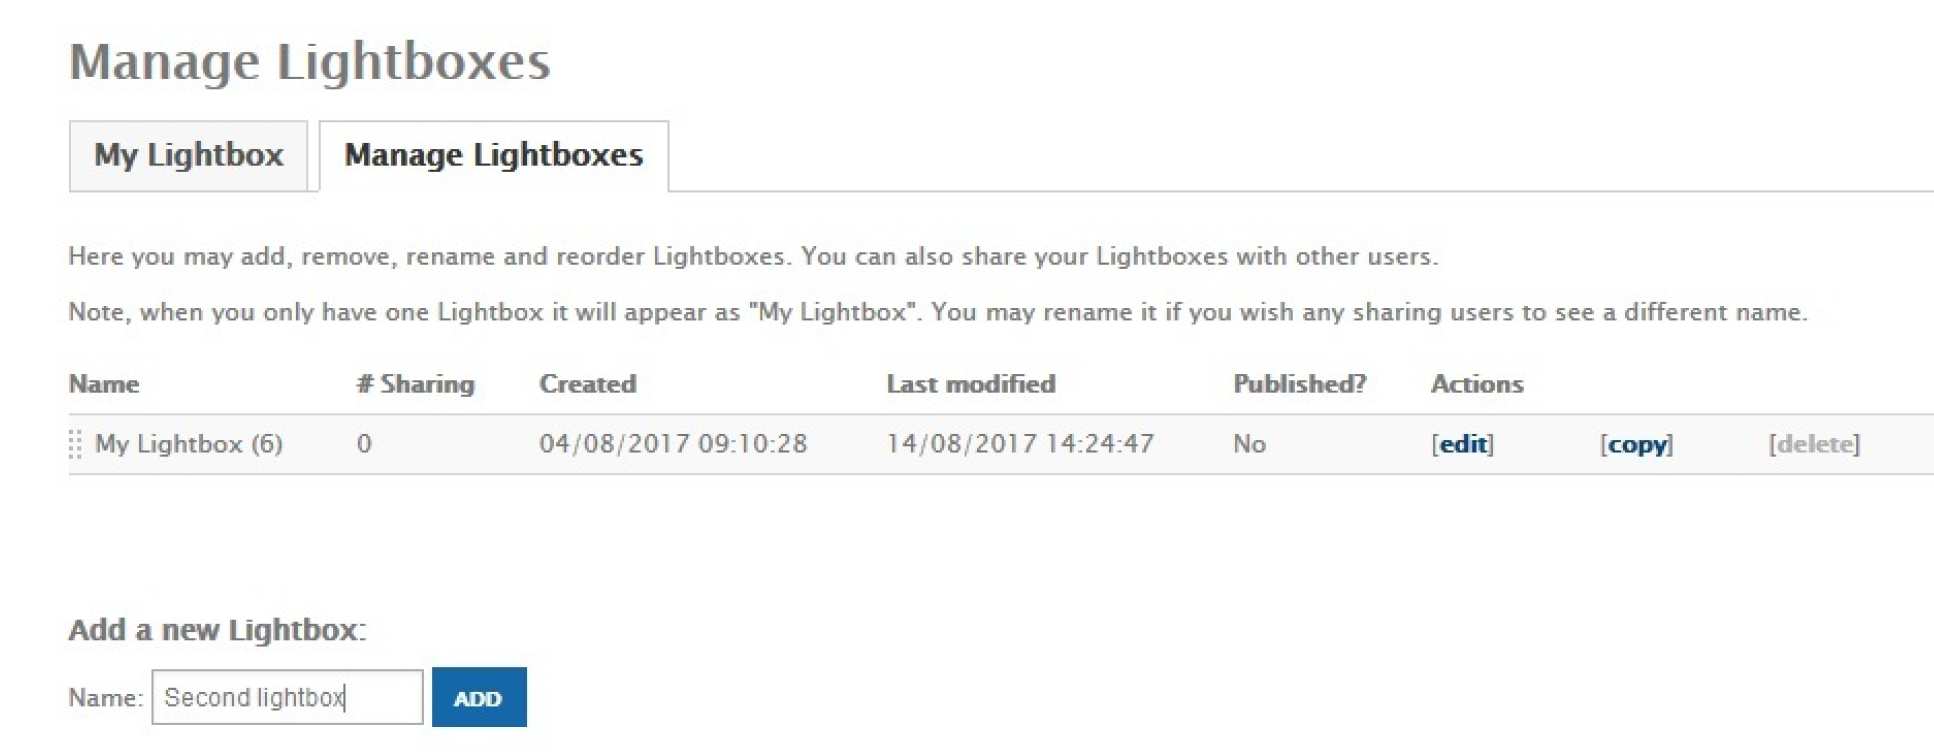
To edit your current lightbox or create other Lightboxes click on the Manage Lightboxes tab.
To add a new lightbox, navigate to the 'Add a new Lightbox', 'Name' field - enter your desired name:
When you have multiple lightboxes they will appear in the dropdown of the current lightbox tab. Selecting one from the dropdown menu will set it to be the active lightbox:
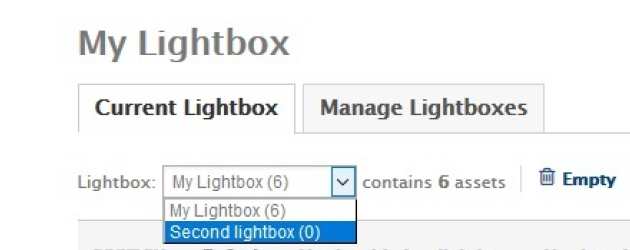
N.B: When you select a new lightbox from the dropdown the tab heading changes to Current Lightbox.
If you're leaving the College and own lightboxes that will still need to be used after your departure, please remember to transfer your lightbox to a colleague, otherwise the lightbox will disappear when your College user account is deactivated.