It is recommended to upload Teams recordings for teaching and learning into Panopto because of the following advantages:
- Stores all recordings for a module in one place
- Correct permissions applied automatically
- Ability to edit
- Automated captioning (either Panopto ASR or Verbit as applied to folder)
- Playback speed can be changed plus the use other familiar Panopto options, such as bookmarking and notes
There are two suggested methods of moving recordings from Teams to Panopto. The tabs below provide further guidance on using the Panopto app or the manual method.
Teams recordings that are scheduled in Channels are not currently possible to automatically transfer to Panopto. There is currently a limitation in the integration that does not recognise Teams "View Only" folders. Please see the guidance below for instructions on moving Channel based recordings manually.
tab content
Access Request Form
Please complete the request form to access to the Panopto app in Microsoft Teams. This app is available to Imperial staff only. If you have a student account and require access to the app for teaching purposes, a request will need to be made on your behalf from your department via Service Now (ASK).
Please Note: The integration will currently only work for personal Teams meeting recordings. Meetings scheduled in Teams Channels will not automatically transfer even if they are configured to do so in the integration settings.
Connecting the Panopto Application to Microsoft Teams
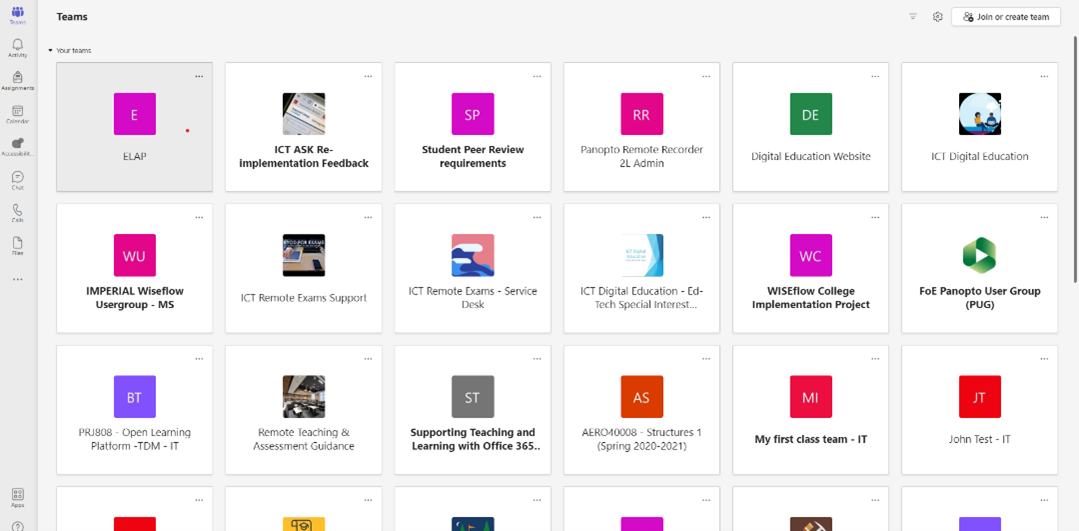
1. To add the Panopto application to Teams, open Teams and click the Apps button on the bottom left of the window.
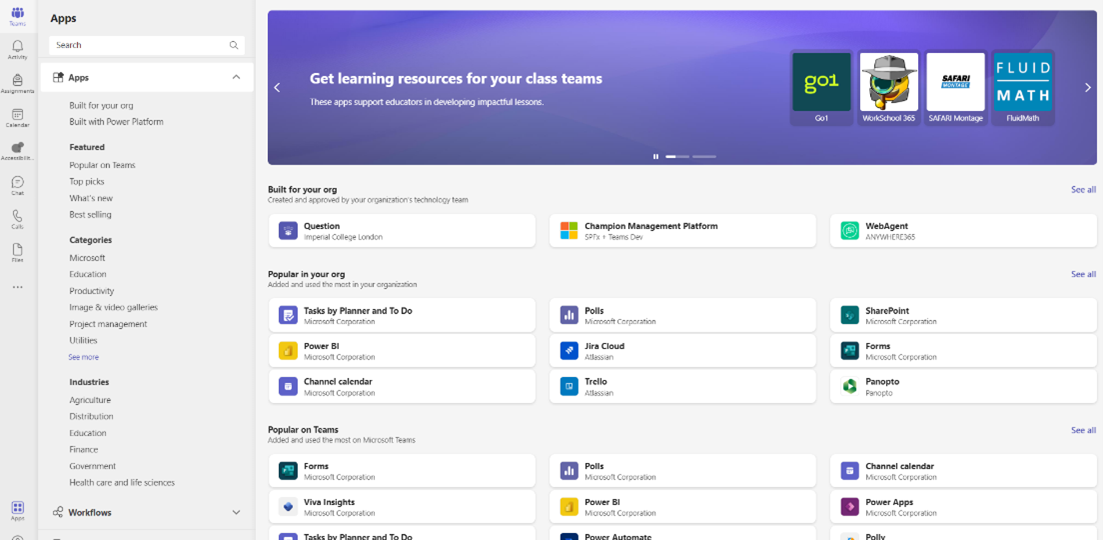
2. Search for ‘Panopto’ in the apps search box (it may also be available in the main window under Popular in your org).
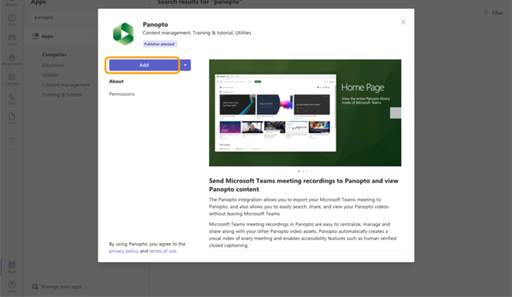
3. A pop-up screen will appear, click Add.
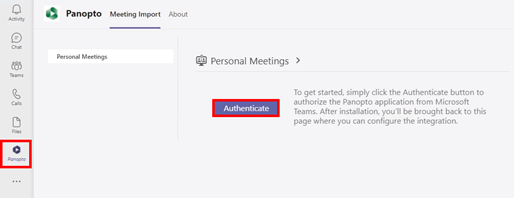
4. The app will install and will be available in the left-hand navigation in Teams. If you cannot view it, click on the three dots and search for Panopto to add it. Please note that when you load the app for the first time you will need to click on Authenticate to access the app. Enter your Imperial Single Sign On (SSO) credentials if prompted.
5. To keep the app available in the Teams left hand navigation, right click on the Panopto icon and select pin.
Mapping your Personal Meetings
Please note the following information regarding mapping your meetings. There are two types of Teams meetings, Personal meetings and meetings that are associated with a Teams Class/Channel. While it is currently possible to map Class/Channel meetings, these will not be picked up by the integration due to a technical issue that is being investigated by Microsoft and Panopto. Only Personal meetings currently will be able to automatically transfer to Panopto. Personal meetings are Teams meetings that were scheduled in your Outlook or Teams calendar and were not associated with a Teams Class or channel.
1. To map your Personal meetings, open the Panopto app in Microsoft Teams.
2. Go to the settings tab.
3. A list of Teams sites you have access to will appear in the left-hand menu. Select Personal Meetings (should be the top of the list). The other Teams Sites should currently be ignored as mapping them will have no effect due to the previously mentioned issue.
4. All meetings that have transferred to Panopto will go to your Panopto ‘My Folder’/’Meeting Recordings" folder by default
5. You can add additional mappings if you wish so that Personal Meetings with specific titles can go to other Panopto folders you have Creator access to.
You will have further options underneath Personal Meetings for other Teams and Channels/Classes you have access to. There is currently a bug in the integration which means that even when configured the meetings, they will not transfer across. Please do not attempt to configure further Teams/Channels/Classes to transfer recordings across to Panopto as these will not work.
Transferring scheduled Class/Channel Teams Meetings into Panopto
If you wish to move recordings that were associated with a Channel or Class the recordings will need to be moved manually, please see the "Manual Process" tab on this page for instructions on how to transfer these recordings.
To download Teams meeting recording(s):
- Open the Teams site with the recording(s) you want to download.
- Go to Files > Recordings > View Only.
- Use the circles on the left-hand side to select the recording(s) you wish to download.
- Click Download from the menu at the top of the screen.
- The file(s) will be downloaded to your "Downloads" folder either as a single video file for one video or a zip file for multiple videos (you will need to extract the zip file before uploading to Panopto).
To upload the file(s) to Panopto:
- Go to Panopto and enter your College credentials.
- Browse to the folder you wish to upload to and open it.
- Drag the file(s) from your local device into the main window of that folder. You will see the upload progress on the bottom right-hand corner of the screen.
- Once uploaded, the file(s) will be processed on the Panopto server. Whilst processing is taking place, you can change the settings and sharing permissions for the recording by hovering over the file and selecting the Settings cog, if necessary.