Adding a people list to a section
The people list content type organises each entry into a list that runs vertically down your page.
You can add range of details to each item, the layout of the contact details will change according to how much content you insert in each one.
Each list can include an unlimited number of entries, and you can add multiple lists to each page.
If you would prefer your items in a grid layout rather than a vertical list, then you should opt for a people grid instead.
Important: using the correct image size
You must use a square (1:1) image with the same width and height, for example 400 pixels (wide) by 400 pixels (high). The previous portrait image sizes of 3:4 e.g. 300x400px will continue to work, but please note that the image will be cropped to a square dimensions. If you use any image dimension other than square or 3:4, then the image will not display and you will see a grey placeholder image instead.
People list example
-
Lisa Walters
/prod01/channel_3/media/migration/staff/icimages--tojpeg_1438617094286_x4.jpg)
Location
South Kensington Campus
London SW7 2AZ, UKFree text area
-
Jeffery Burns
/prod01/channel_3/media/migration/staff/icimages--tojpeg_1438617262731_x4.jpg)
Location
South Kensington Campus
London SW7 2AZ, UK
Instructions
There are three main steps to adding a people list to your page - 1) Create the folder structure 2) Add the people list items 3) Add the People list widget to the page you want it to display on.
Step one: Create the folder structure
1. In the Site structure (access by clicking the terminalfour logo in the top left), navigate to the section (page) where you want the people list to appear. In my example here, it is the Department contacts section.
2. Click on the blue Actions button and select Create section.
 3. Create a hidden sub-section (child) called PeopleList (Case Sensitive and must be spelt correctly), directly beneath the section where your People list grid is to appear.
4. Click Save changes to add the section.
5. Create a second hidden sub-section beneath your PeopleList section. The name for this second sub-section MUST NOT be PeopleList but can be anything else to help you identify which list the people belong to. In my example I ahve named this 'Communications team (people list)'.
6. Click Save changes to add the section.
Note: If you want multiple groups of people in your section you can create extra sub-sections below the PeopleList section to organise each different group.
Step two: Add the people list items
1. In the site structure, navigate to the hidden sub-section you created in below PeopleList. In my example this was 'Communications team (people list)'.
2. Click the blue Actions button and select Create content
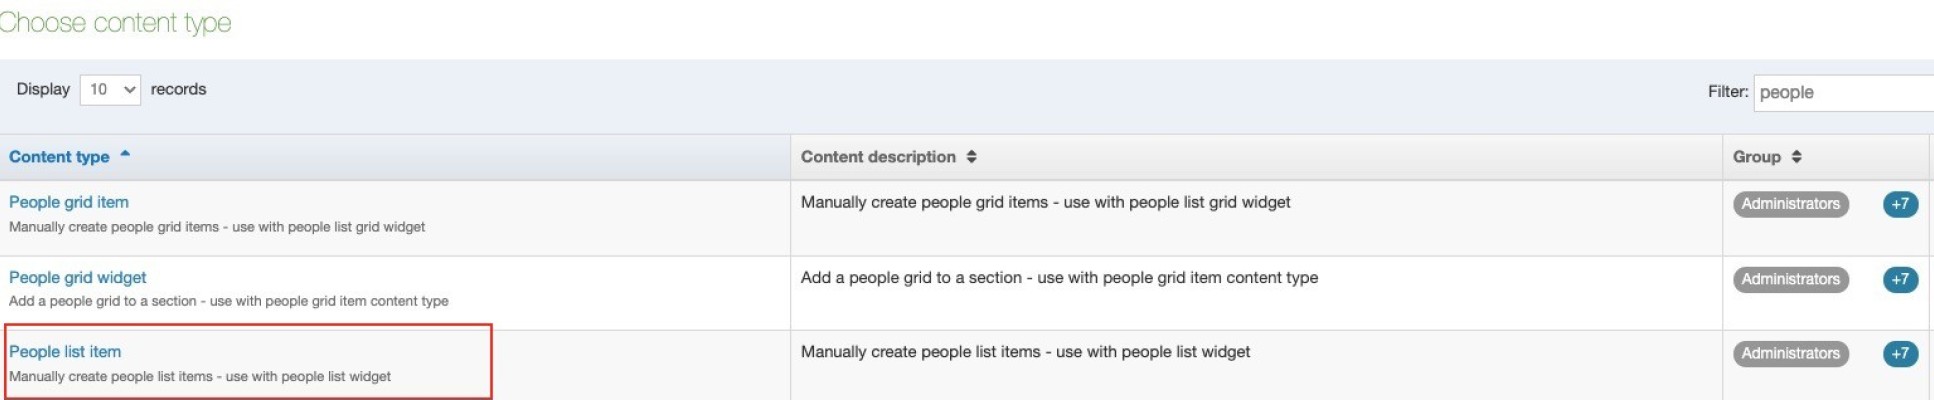
3. Select People list item from the content type list.
4. Fill in the form as instructed below:
| Name * | Give the people grid item a name NB: the items will appear on your page in number/alphabetical order - therefore name the first item: "a. name", the second item: "b. name", the third: "c. name" and so on. |
| Person's name * | Name of the person (for example: Dr Joe Bloggs) |
| Job Title | |
| Image * |
Click Select media to choose a image from the Media Library or to upload a new image. New images should be uploaded to the People list folder in the Media Library If you add an image you must add an 'Alt text' describing what is contained in the image. This is an accessibility requirement. |
| External link | Enter a link to an external website for this person (for example: a link to their professional webpage) |
| Internal link | Create a link to a page within the TerminalFour site structure (for example: the research group site that this person belongs to) |
| Use default text |
Leave this as ticked |
| Enter the person's email address | |
| Telephone | Enter the person's telephone number in this format: +44 20 7594 XXXX |
| Address | Enter the person's address |
| Affiliations title | Use this field if you would like something other than affiliations in the item, for example: 'Responsibilities' or 'Research Interests'. |
| Affiliations |
Enter details of the person's Department/Section/Groups using bullet points e.g.
OR if using something other than affiliations, for example, research interests, enter your content here. |
| Display item? * | Must be ticked for it to appear on the page |
* Fields marked with an asterisk are mandatory
5. Click Save and approve
You will then be taken to the content list screen. To add further people list items click the green Add content button and repear steps 3 to 5.
Step three: Add the People list widget to the page where it will display
1. In the site structure, navigate to the section (page) you want the people list to display. In my example this is the Department contacts section.
2. Click the blue Actions button and select Create content.
3. Select People list widget from the content type list.
4. Fill in the form as instructed below:
| Name * | Give your people list a name, for example 'Communications team'. |
| Block Title* | This title will be shown above the entire block, if switched on with the field below. Otherwise it will be an 'invisible' screenreader only heading and will ensure your page has a H2. |
| Show block title | Ticking this box will make the heading show to all users, not just screenreaders. |
| Find additional items * | Click the Add section link button to choose the hidden sub-section where you people listitems. In my exmple this was 'Communications team (people list)'. |
| Use default link text | Keep this ticked |
| Display items * | Must be ticked for the people list to display |
6. Click Save and approve.
Note: If you want to include separate lists of people on a single page, you'll need to add a People list widget for each list you want to add, making sure that each widget links (via the 'Find additional items' field) to a separate hidden sub-section beneath your 'PeopleList' section.